

Taking a bicycle on an aeroplane can be a nerve-wracking experience! I remember the first flight I made with my bike, it was a harrowing experience! Would my bike get damaged in fact would it even arrive!
History
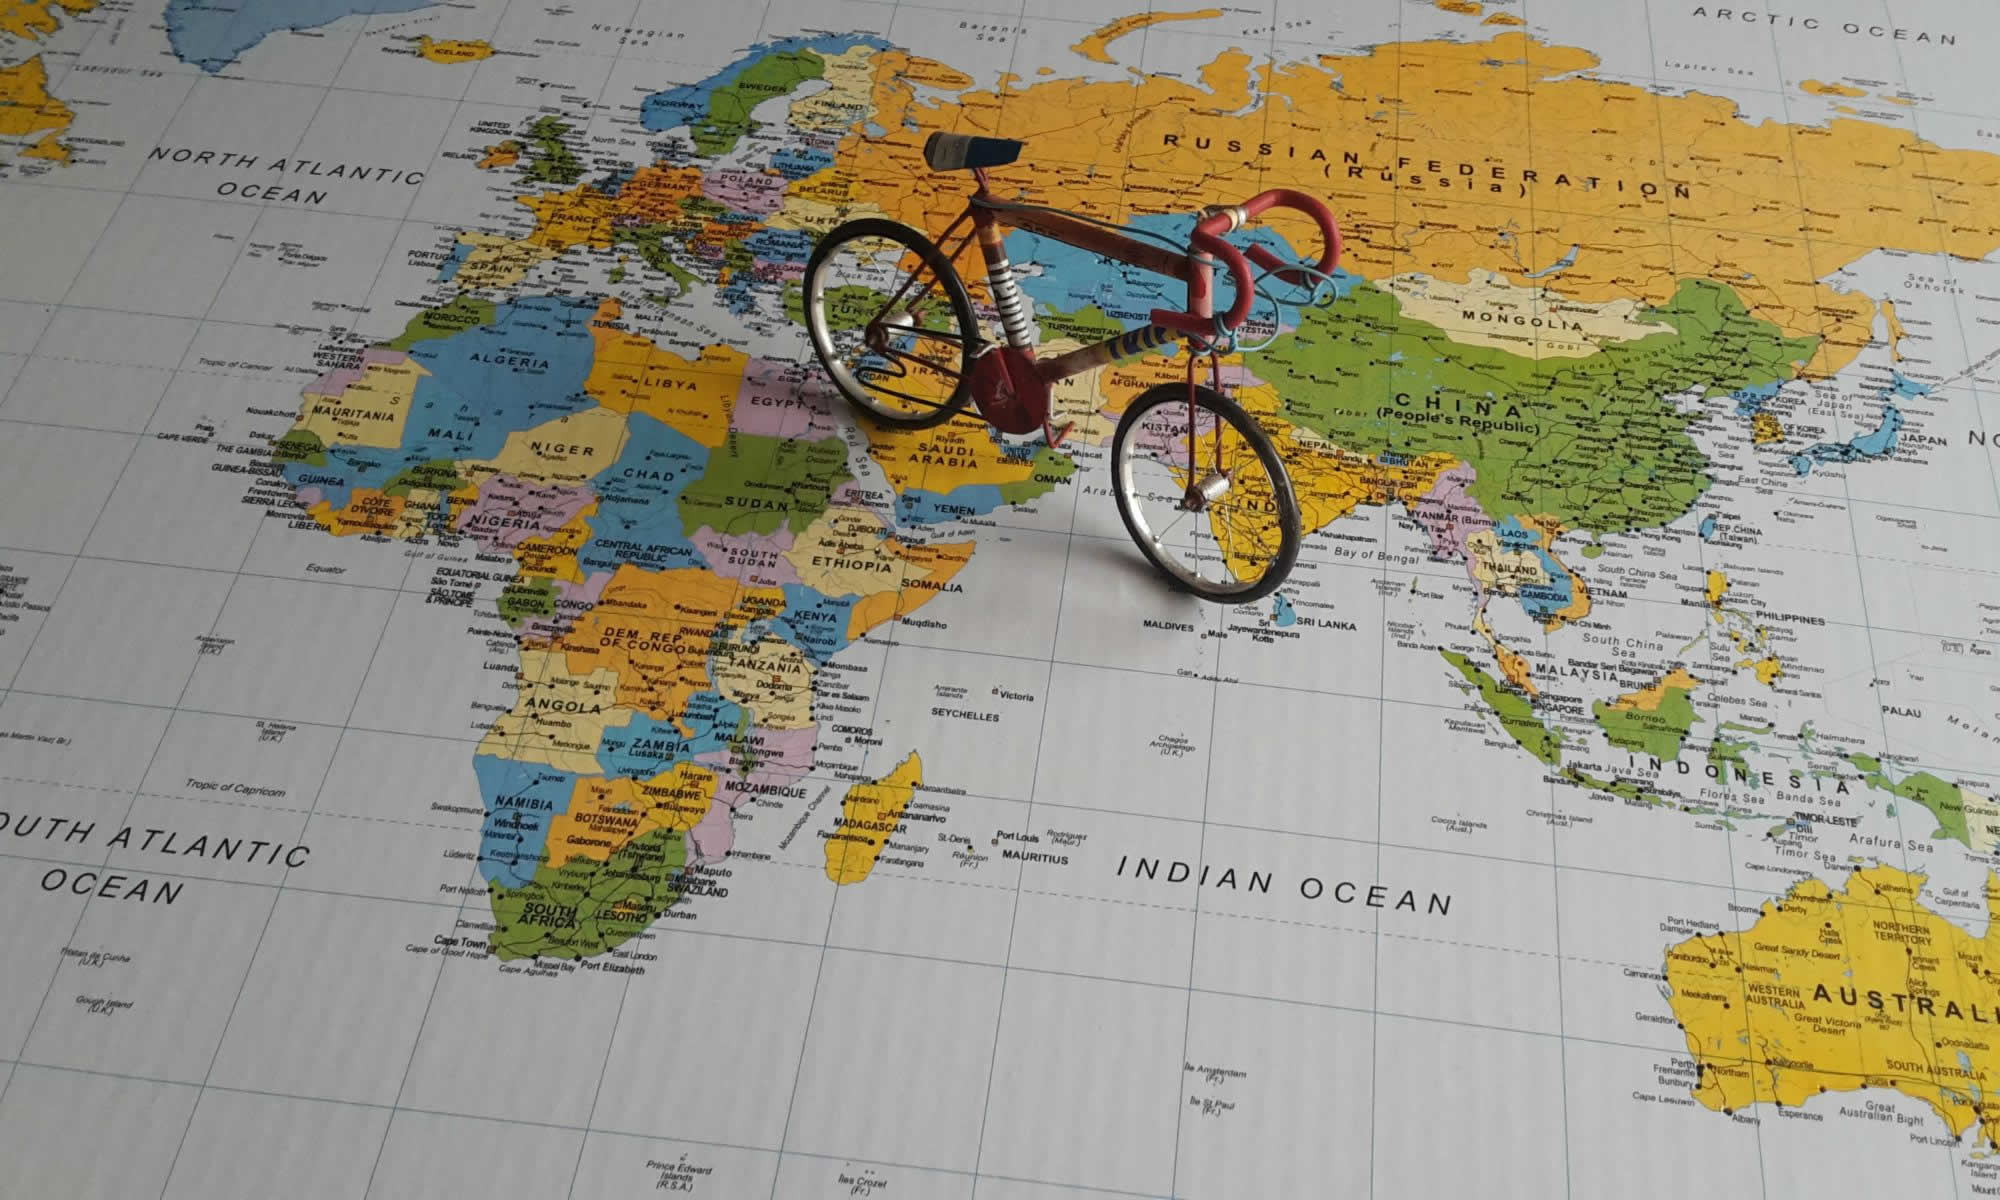
I’d been cycle touring for nearly four years and had always avoided going anywhere that involved taking a plane! But now I was planning to cycle around the world, and that would require a few flights!
Knowing that I was now going to have to take my bike on an aeroplane, I decided to try it out on a short trip to Spain. It was also a reasonable excuse to go away!
I’d done some homework and found out that British Airways allowed you to put the bike in a giant plastic bag, so there was no need to dismantle anything. The only thing I had to do was to take the pedals off and turn the handlebars! Perfect for a first flight, I thought, thinking that the ground crew would see that it’s a bike and be a bit more careful! Rather than just another box, which might get thrown around!

The bonus of putting the bike in a bag was that I could cycle to the airport and pack it away there.
Panic Over
All my worrying was totally unfounded, and my bike arrived at the airport in Spain, in one piece and without a scratch!

Since that first flight, I’ve flown many times, although I still get a little nervous before check-in. Although once my bikes checked in, I relax.
How To Pack The Bike Away
After sourcing a box from a local cycle shop, they’re usually happy to supply you with one for a small fee! Although sometimes they’re just glad to get rid of them and will give you one for nothing.
If a box can’t be found, you can cobble one together using several smaller boxes and plenty of parcel tape!

While at the shop getting the box I also get them to crack the pedals (loosen them). Pedals can be quite hard to undo, especially if it’s been a long tour so getting the shop to loosen them with a pedal wrench is the easiest option.
As explained in my previous post “Planning A Bicycle Tour” subheading at the end of a tour, I find a quiet spot at the hotel.
Dismantling
Firstly, I remove the pedals that were loosened by the shop before turning the bike upside down. (The photos were all taken at home, so I’d undone the pedals myself)

Next to get removed are the wheels, I also deflate the tyres a bit as they expand while in flight. It is also a requirement on some flights.
After removing the wheels, I’ve got some plastic tubes which I decided were needed when I packed my bike away for the first time in Istanbul. (They sit in my tool bag permanently now) The wheel axles are put through the tubes and then put back on the bike. It adds a bit of added protection against the forks getting squashed.


The racks and mudguards are the next parts to be removed.

After I’ve removed something, I always place the bolt back into the hole it came from. Then when it comes to reassembling the bike, you know where everything is, and you don’t lose any!

I don’t bother removing the chain I just put it in a plastic bag and tape it to the frame. Making sure that I don’t put the tape on the frame, it doesn’t come off very easily! You can, of course, remove the chain, I just find it easier not to!
Extra Packing
Once the bike has been stripped down, I always put extra padding on the forks, chainring and rear forks for additional protection.

I also wrap everything I’ve taken off in bubble wrap. (bubble wrap allowing) To avoid scratching the frame, and stop everything rattling around in the box.

Next, the bikes turned up the right way, and the saddle lowered. Just before dropping I draw a pencil mark on the stem, so I know what height to put it back at when I reassemble.

Finally, I turn the handlebars and everything gets placed in the box and securely taped up.

Reassembling
Reassembling is a reverse of the above. When reassembling the bike, I find it a good idea to put a small amount of oil on each bolt. This aids in the dismantling the next time you fly, and helps avoid any bolts becoming seised up.
