First Long-Distance Bicycle Ride

Hills

My first ever long-distance bicycle ride was back in 2002. I’d been a heavy smoker and had smoked for much of my life. Smoking between 40/60 cigarettes a day, so giving up was a struggle! As a way of taking my mind off the fags, I started to ride my bike. Not for fitness. It was purely because trying to smoke while cycling was always hard! So cycling more made a lot of sense.

I’d given the cigarettes up for about six weeks and could now cycle four or five miles! When some friends were off to Swanage, camping. I joked that I might ride my bike down to visit them! Well, the joke got a bit out of hand! And before I knew where I was, I was cycling to Swanage!

The Start

Deciding that I was going to cycle to Swanage, I needed to modify my trusty Marin. I bought a rack and some cheap panniers and attached them to my bike. Converting it from a mountain bike to a hybrid. I attached a tent and sleeping bag to the back, and off I set on my epic ride! Not knowing if I would make it or not! But not being one to be beaten, I was determined to make it.

Bicycle
Garry’s Marin bike, a few years later on the Isle of Wight. Now with a front rack fitted

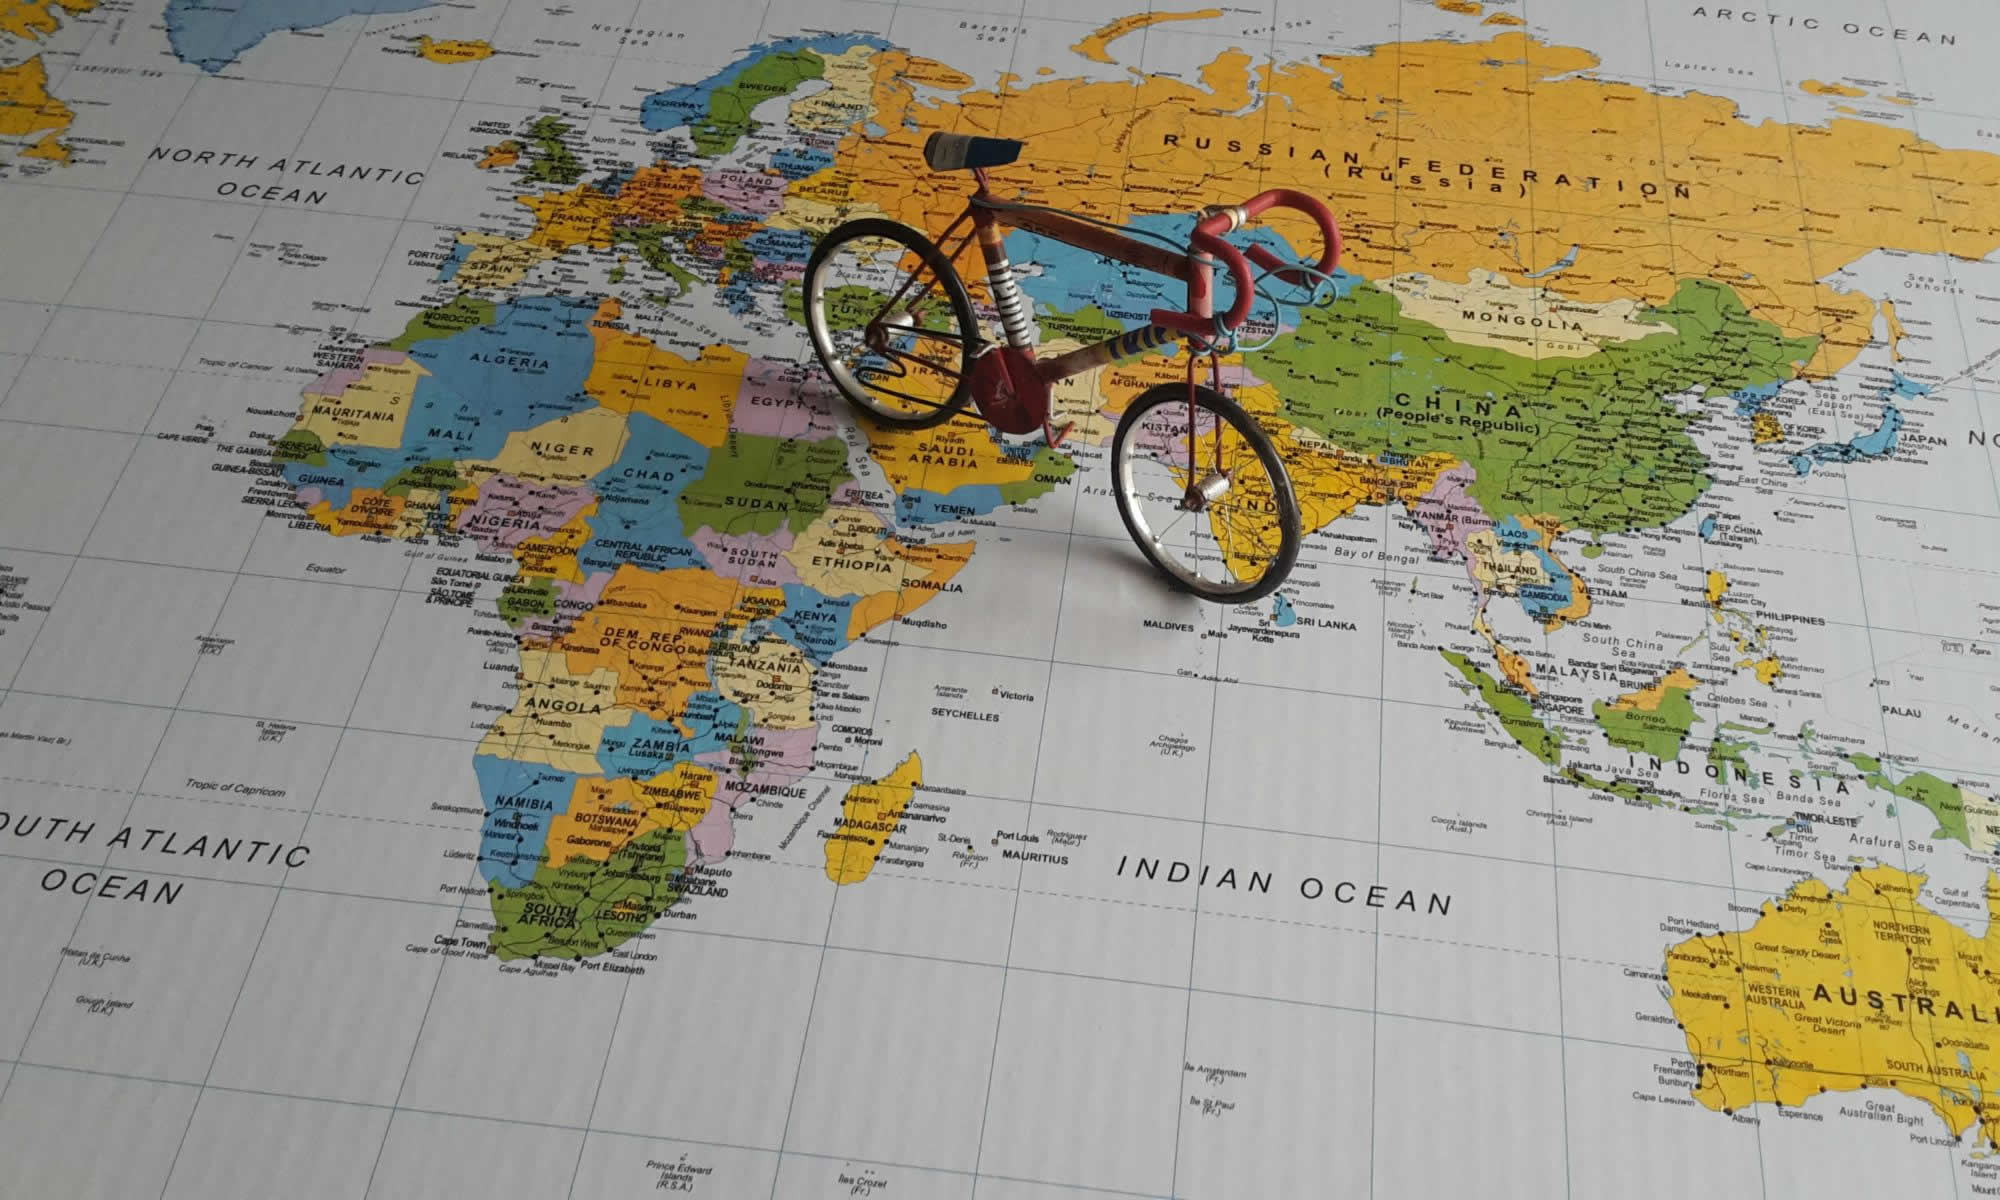
The first leg of my journey was a flat, 25-mile ride to Portsmouth. Finding my way to Portsmouth was easy! Finding my way through the city was another thing and one I still struggle with today! Thankfully I met another cyclist who knew the area. Who took me to the Isle of Wight ferry. My route to Swanage would take me via the Isle of Wight. If you look at the map, this is the most direct route! It also missed out on a lot of busy roads and Southampton. Another city I probably would have got lost in! The forty-minute crossing to the Isle of Wight also gave me a chance to rest after my first 25 miles of cycling!

The Second Leg

Fully rested, and feeling fit again, sort of! It was time to disembark the ferry and start my ride across the island. Immediately I was confronted with a hill! Great, just what I needed! But I had to get up it to continue my journey! I put my bike in its highest gear and slowly peddled up the hill! It seemed to go on forever! But once at the top, I had a nice downhill. Which unfortunately turned into another uphill slog!

That was pretty much the story of the Isle of Wight! Uphill and downhill all the way across the island to Yarmouth, where I would catch another ferry off the island. It was only 15 miles across the island, but it was a hard 15 miles! I was glad to reach Yarmouth and board the ferry so I could rest again!

Back on the mainland after crossing the Isle of Wight, I was in Lymington. Where I then rode through Christchurch and Bournemouth on busy roads. The roads weren’t as hilly as on the Isle of Wight. But by now, I was finding it pretty hard going, and even the slightest hill felt like a mountain!

I’d made it to Sandbanks, where I would get my last ferry of the day. An old chain link ferry that takes you across the water from Sandbanks to Studland and my final leg! No chance of rest on this ferry. It only takes five minutes! I did, however, stop at a cafe and have sausage and chips! Before getting the ferry!

Ferry
The chainlink ferry between Sandbanks and Studland
The Final Leg

Across the water and on Studland, I set off on my final leg! I was feeling pretty tired, but with only 10 miles to go, surely I could manage that? After all, I’d already cycled 70 miles!

The last 10 miles up through the Purbeck Hills were the hardest, as you might expect! Even without cycling 70 miles, they would have been quite a challenge! Off the Sandbanks ferry, the road started flat, but I could see the Purbeck Hills looming large in the distance!

The flat road didn’t last, and soon I was starting to climb! I reached the village of Studland and stopped at the shop for another rest! And a bottle of coke! But I couldn’t stop there all day! The only way to get up this hill was to keep cycling! Eventually, I reached the top, frequently stopping to catch my breath!

Hills water
Looking down from the Purbeck Hills

After conquering the Purbeck mountains! I sat back and enjoyed freewheeling down the hill into Swanage and the end of my epic ride! Unfortunately, it wasn’t to be. The campsite wasn’t actually in Swanage! It was a couple of miles out of town! Will this ride ever end?

Oh well, let’s get these last miles out of the way! Those last few miles were hard, very hard! All uphill! And I had to stop several (loads) times to catch my breath! Finally, though, I arrived at the campsite! Exhausted and worn out! But what a feeling, thinking I’d cycled 80 miles on my own without help! Which was a bit of a surprise! I thought it was only going to be a 50-mile ride!

Field tents
The campsite at Acton
After The Ride

That evening I contemplated whether I should get the train home or try and cycle back! In the end, I decided to cycle it. After all, if it got too much, I could always hop on the train further down the line. Well, I managed to make it home without the train! Cycling another 80 miles! And all this without any training or practice, and on my first attempt!

And that’s why when working out how long I might be away on a trip. I base everything on cycling 80 miles a day.

All mileage on this trip got worked out later, apart from the finish milage. I never looked at the mileage on the trip until I’d finished! And to this day, I still don’t look at my mileage until I stop!

MSR Hubba Tour 2 Still Isn’t Waterproof

Tent

The MSR Hubba Tour 2 tent still isn’t waterproof! The saga goes on.

It started when Garry bought his first Hubba Tour tent in 2017. After the tent fly failed, he returned it for repair. However, the new one wasn’t waterproof! After many calls to MSR, with many of them basically calling Garry a liar! Saying it was condensation and that nobody else had had this problem!! They eventually agreed to send him a replacement fly, which also leaked!

Once again, after many calls, he was sent another replacement, which, yes, you guessed it, also leaked! Garry was then sent yet another tent, which unsurprisingly also leaked! Garry was so annoyed that he posted a video on YouTube highlighting the problems!

After a few months, MSR got in contact, wanting to rectify the situation. Unfortunately, the timing was terrible. He’d just come out of intensive care after recovering from sepsis. Garry did send them an email explaining his situation, and they replied, saying no problems, get in touch when you’re better! Well, Garry eventually did send them an email at the beginning of 2019. It got ignored entirely, and he’s never heard anything since!

Not Giving Up

Liking the design and layout of the MSR so much, and the fact he’s not been able to find anything similar that suits his needs, he took matters into his own hands! And sealed the seams that were leaking, which he did in 2019, but despite over 5000 miles on the road last year, it never rained! Or rather not when he was camping!

After being asked the question on his YouTube channel. Is the tent okay now? It reminded him that he’d not tried it in the rain! Now with the country, in fact, much of the world in lockdown due to the Covid-19 outbreak! And with no end in sight, he’s decided to try it out in his garden.

Subscribe to Garry’s YouTube channel.

Follow Garry on his travels

Enter your email address and receive Garry's updates straight to your inbox

MSR Hubba Tour 2 Leaks

Rain drp in a tent

Well, it’s been 15-months since I purchased the MSR Hubba Tour 2 tent, so I thought it was about time to write an updated review of the tent, it leaks!

As I said in my previous post, II was excited when the MSR Hubba Tour 2 was released! And saw it as the long-awaited replacement for my old MSR Velo. And immediately bought one! But a replacement it certainly isn’t, it just doesn’t even come close! The tent doesn’t work!

MSR Hubba Tour 2 leaks
One of the leaks in the front vestibule

I’m not too sure whether MSR tested this tent, before releasing it! But if they had, I’m sure they would have worked out some of the major flaws with the tent, for themselves!

After enjoying a few nights away in the new MSR Hubba Tour 2, without any problems, I was enjoying my new tent. Okay, it all felt a bit flimsy, and the fly needed tightening a couple of times, before settling in for the night! No matter how tight the fly was, as soon as the temperature dropped, the fly dropped! Once the fly had sagged, condensation would then drip in! Maybe that was the un-doings of the tent, over-tightening the fly?

Drip MSR Hubba Tour 2 Leaks
With the inner tent touching the outer tent water then drips into the tent

And yes maybe there wasn’t enough room between the inner tent and outer tent. And no matter what I did, they always touched, causing condensation to drip in! But I was prepared to put up with these. As I said, I liked the layout of the tent, it suited my needs perfectly. And has a well-balanced space to weight ratio.

Inside a tent MSR Hubba Tour 2 Leaks
The inner tent touching the outer tent
The Inevitable

But then the inevitable night came when it rained! No problem I’m in my new tent everything will be fine! When the morning arrived, I noticed that there were one or two wet patches in the corners of the inner tent. There was also some water in the vestibule. But I decided to put these down to condensation. After all my tent was only a couple of months old and had only been out a handful of times there was no way it could be leaking, could it?

The following night came, and once again it started to rain. I must admit I was a little apprehensive and nervous! After finding the pools of water this morning! Then, my worse fears came true, water was pouring in! Through the corners of the inner tent, and the corners of the vestibule! To say I wasn’t happy was an understatement! The new MSR Hubba Tour 2 leaks! The tent that I had waited years for was leaking like a sieve! And to top it all one of the toggles that attach the inner tent to the fly broke! I wasn’t happy!

Broken toggle
The broken toggle
Customer Service, What Customer service?

After returning home from my trip, I wrote to MSR explaining the situation. Once I’d eventually found an address to write to! The reply I got back, was somewhat god smacking, and not what I’d expected! I was practically called a liar and told it must be condensation, as nobody else has complained! As you can imagine, that got my back up! What sort of response was that? Terrible customer service on MSR’s part! To be told I’m lying? Especially after I’d sung the praises of the MSR Hubba Tour 2! It felt like a kick in the teeth!

MSR Hubba Tour 2 Leaks
Rain dripping in from one of the toggles that attach the inner tent to the outer tent

Eventually, after a bit of communication, MSR agreed that I should send the tent to them (at my expense) so they could test it. After a few weeks, I got word back that yes, the tent was faulty and they would replace it. But, they didn’t have any in stock! I asked if I could have the old one back as a stop-gap, but that had been thrown away! My new tent eventually arrived a month later. But due to one thing and another, I never got to use it this year.

April 2018

Roll forward to this year (2018) and the start of the camping season and yes you’ve guessed it, on my first night out in the rain the new MSR leaked and even more than the old one! Although one good thing the inner tent seemed to stay dry this time! It was, however, leaking in the corners of the vestibule and this time above the vestibule door; it poured in through there!

Leaking tent MSR Hubba Tour 2 Leaks
The leak around the main door
A New Season

Roll forward to this year (2018) and the start of the camping season. And yes you’ve guessed it, the first time it rained, the tent leaked like a sieve, even more than the old one! Although one good thing the inner tent seemed to stay dry this time! It was, however, still leaking in the corners of the vestibule! But now there was a new leak, above the vestibule door; it poured through there! PHOTO

Whoever passed this tent off for general sale should be fired, was it not tested in the field first? (If you’ll pardon the pun) It’s not waterproof! The seams leak, the fly stretches too much and sags! There’s not enough space between the fly and inner tent. Allowing them to touch no matter what you do! That, in turn, enables condensation to drip into the inner tent! And as for the fly screen on the vestibule door, why? It serves no purpose! Yes, it keeps fly’s from entering by the main entrance, but with no fly screen on the vents, it’s useless! I know I’m not the only person who has had problems! Do these issues not get passed on to production? If they want to contact me, I’d be more than happy to help!

Profit First

Does MSR not care about the quality of their equipment anymore? I’d read one or two disparaging reports about the MSR Hubba Tour tent but chose to ignore them as I am such a big fan! But you can only push somebody so far! What has happened at MSR? Their equipment used to be robust, reliable and long-lasting! Unfortunately, that doesn’t appear to be the case with the MSR Hubba Tour 2 tent!

Although my main problem with the MSR Hubba Tour 2, is that I want it to work! I don’t want it to fail! I think it’s layout and design are excellent and ideally suited to cycle touring! But the reality of it is that it’s not fit for purpose! And after defending the tent for the past 15-months, I feel I can no longer!

As I said earlier the “MSR Hubba Tour 2 a brilliant tent as long as it doesn’t rain!” I have since received another replacement fly, which like the previous ones still leaks!

As of May 2018, I’m awaiting for another response from MSR!

Watch Garry’s youtube video


Follow Garry on his travels

Enter your email address to receive updates as Garry travels around on his bike

Taking a Bicycle on an Aeroplane

Sky

Taking a bicycle on an aeroplane can be a nerve-wracking experience! I remember the first flight I made with my bike, it was a harrowing experience! Would my bike get damaged in fact would it even arrive!

History

I’d been cycle touring for nearly four years and had always avoided going anywhere that involved taking a plane! But now I was planning to cycle around the world, and that would require a few flights!

Knowing that I was now going to have to take my bike on an aeroplane, I decided to try it out on a short trip to Spain. It was also a reasonable excuse to go away!

I’d done some homework and found out that British Airways allowed you to put the bike in a giant plastic bag, so there was no need to dismantle anything. The only thing I had to do was to take the pedals off and turn the handlebars! Perfect for a first flight, I thought, thinking that the ground crew would see that it’s a bike and be a bit more careful! Rather than just another box, which might get thrown around!

Bike in a bag
All packed up ready for a first flight in 2011

The bonus of putting the bike in a bag was that I could cycle to the airport and pack it away there.

Panic Over

All my worrying was totally unfounded, and my bike arrived at the airport in Spain, in one piece and without a scratch!

Bags and bicycle
At the airport in Spain

Since that first flight, I’ve flown many times, although I still get a little nervous before check-in. Although once my bikes checked in, I relax.

How To Pack The Bike Away

After sourcing a box from a local cycle shop, they’re usually happy to supply you with one for a small fee! Although sometimes they’re just glad to get rid of them and will give you one for nothing.

If a box can’t be found, you can cobble one together using several smaller boxes and plenty of parcel tape!

Bicycle pedal
Loosening the pedals

While at the shop getting the box I also get them to crack the pedals (loosen them). Pedals can be quite hard to undo, especially if it’s been a long tour so getting the shop to loosen them with a pedal wrench is the easiest option.

As explained in my previous post “Planning A Bicycle Tour” subheading at the end of a tour, I find a quiet spot at the hotel.

Dismantling

Firstly, I remove the pedals that were loosened by the shop before turning the bike upside down. (The photos were all taken at home, so I’d undone the pedals myself)

Bicycle tyre
Deflate the tyres

Next to get removed are the wheels, I also deflate the tyres a bit as they expand while in flight. It is also a requirement on some flights.

After removing the wheels, I’ve got some plastic tubes which I decided were needed when I packed my bike away for the first time in Istanbul. (They sit in my tool bag permanently now) The wheel axles are put through the tubes and then put back on the bike. It adds a bit of added protection against the forks getting squashed.

Axle plastic
Plastic sleeve to go over axle
Bicycle forks
The axles along with the sleeves are put back on the bike

The racks and mudguards are the next parts to be removed.

Socket
Handy socket I added to my tools on my first trip to India

After I’ve removed something, I always place the bolt back into the hole it came from. Then when it comes to reassembling the bike, you know where everything is, and you don’t lose any!

Bolts on bike
Replace the bolts back into the holes they came from

I don’t bother removing the chain I just put it in a plastic bag and tape it to the frame. Making sure that I don’t put the tape on the frame, it doesn’t come off very easily! You can, of course, remove the chain, I just find it easier not to!

Extra Packing

Once the bike has been stripped down, I always put extra padding on the forks, chainring and rear forks for additional protection.

Tape bubble wrap
Extra padding on vulnerable parts

I also wrap everything I’ve taken off in bubble wrap. (bubble wrap allowing) To avoid scratching the frame, and stop everything rattling around in the box.

Mudguard and wheels
Racks and wheels wrapped up to protect against scratching the frame

Next, the bikes turned up the right way, and the saddle lowered. Just before dropping I draw a pencil mark on the stem, so I know what height to put it back at when I reassemble.

Pencil seat stem
Mark the position of the seat stem

Finally, I turn the handlebars and everything gets placed in the box and securely taped up.

Box
Everything all boxed up
Reassembling

Reassembling is a reverse of the above. When reassembling the bike, I find it a good idea to put a small amount of oil on each bolt. This aids in the dismantling the next time you fly, and helps avoid any bolts becoming seised up.

Social media & sharing icons powered by UltimatelySocial